Quick Summary Area Key Insight What AI adds Intelligence, adaptability, and predictive decision-making Biggest gains Faster time-to-productivity and improved retention...
Global teams need real visibility to connect overlooked talent to important projects. Using advanced employee directory software removes location bias,...
TL;DR: Organizations face a daunting 8.8% productivity gap. Discover how an automated purchase requisition workflow improves approval speed, spend control,...
In my previous blog, we introduced the new Microsoft Lists app and how it works. In this blog, we will explore how to use Microsoft Lists in the Microsoft Teams channels.
Microsoft List is a great app to collaborate over data and organize work. The lists created in any channel on Microsoft Teams can be accessed from the Microsoft Lists app on Office 365 because teams in Microsoft Teams are the Office 365 groups, so all the features we get in the Office 365 Lists app are in Teams.
Create lists using Microsoft list in Microsoft Teams.
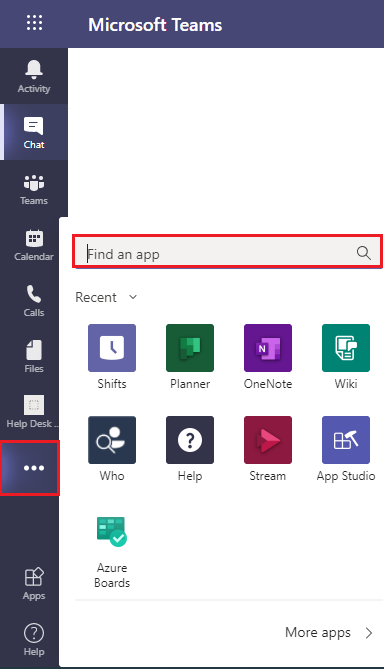
1. Go to Microsoft Teams, and click on the ellipses from the quick launch.
2. Click on the Find an app search box and search for Lists.
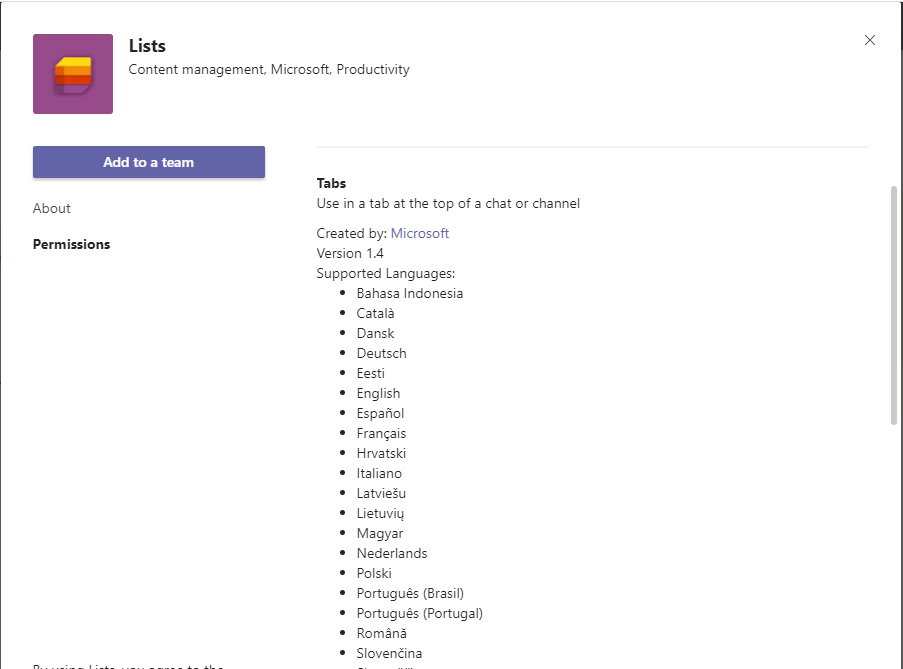
3. Select the ‘Lists app’ appear in the search result.
4. Click on the ‘Add to a team’ button from the window.
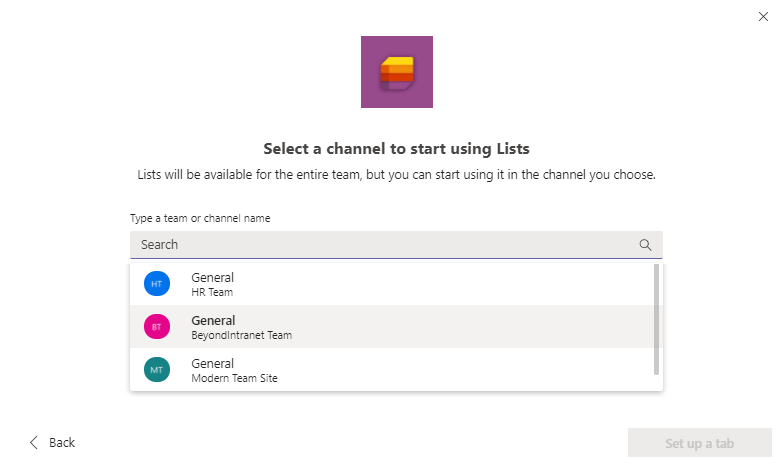
5. Select the channel in which you want to create a list.
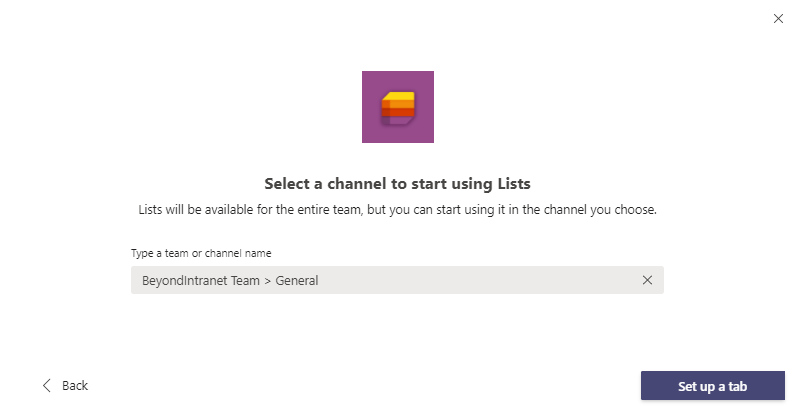
6. Once you select the channel, click ‘Set up a tab’.
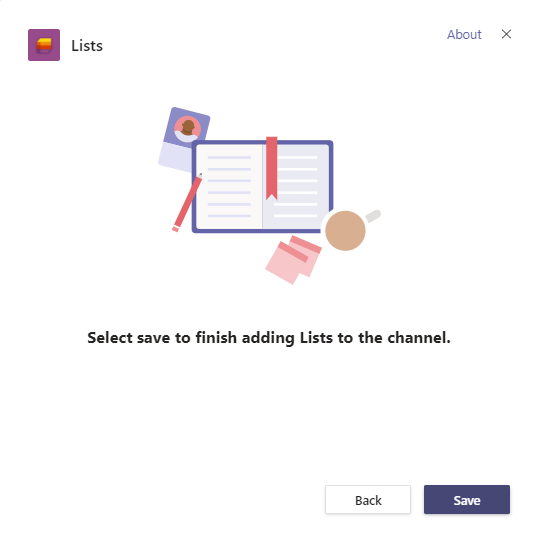
7. From the next screen click, the ‘Save’ button.
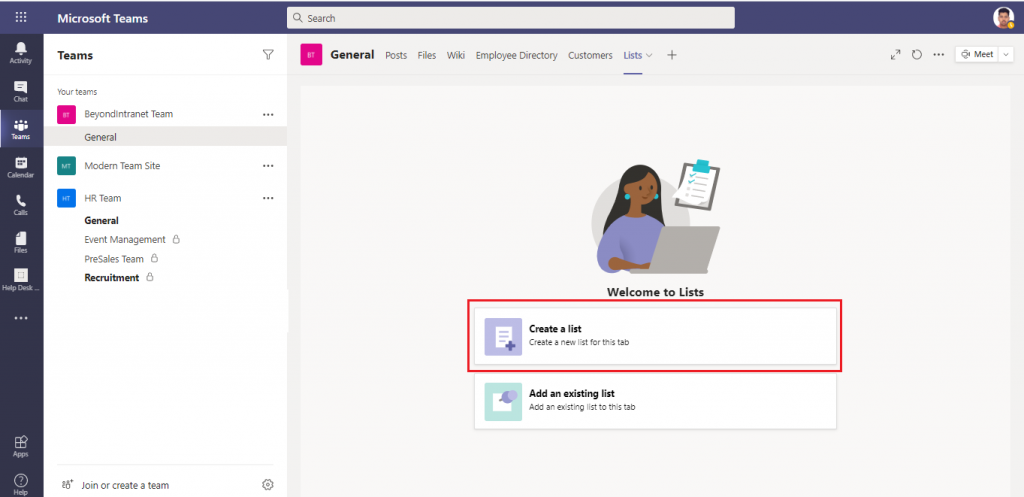
8. You can see a ‘Lists’ tab added to the selected channel. Now, click ‘Create a list’.
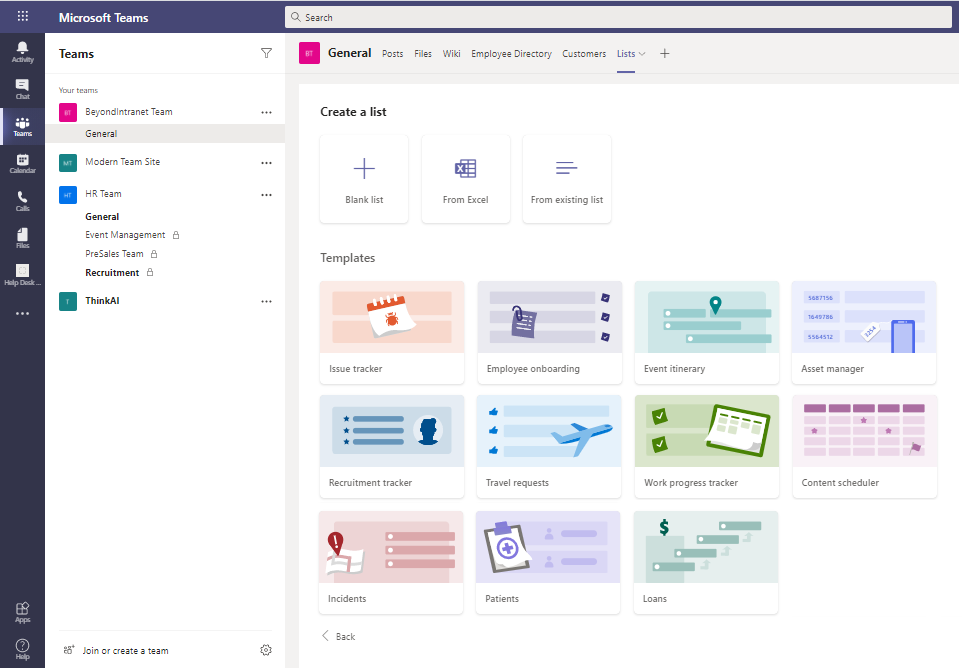
9. From the ‘Create a list’ page, select one of the following options:
a. Blank list: Choose this option to start from scratch. Give your list a Name, Description(optional), and select any other options you want. The list will save to ‘My lists’ unless you choose one of your SharePoint sites or Teams from the ‘Save’ list. When you are finished selecting options, select ‘Create’.
b. From Excel: Create a list based on an Excel spreadsheet.
c. From the existing list: Choose this option to save time and create a new list based on the columns in another list. Your new list will start with the same columns but will not have any data.
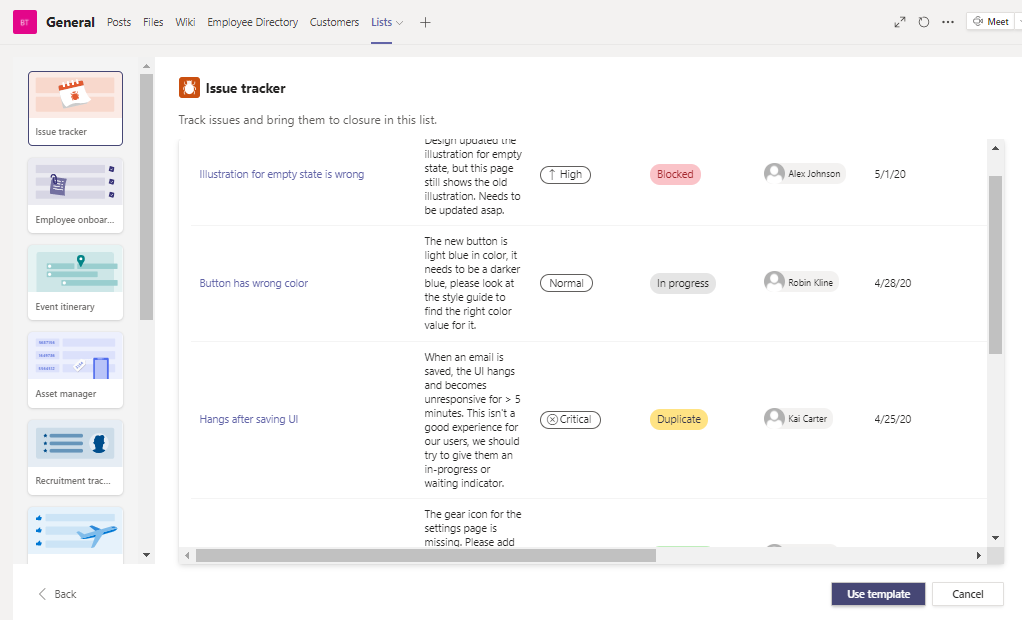
d. Templates: Select a template, such as an ‘Issue tracker,’ to see what columns the template has. You can then scroll through sample data to see what to include. Select the templates that fit your specific needs. Click the ‘Use Template’ button.
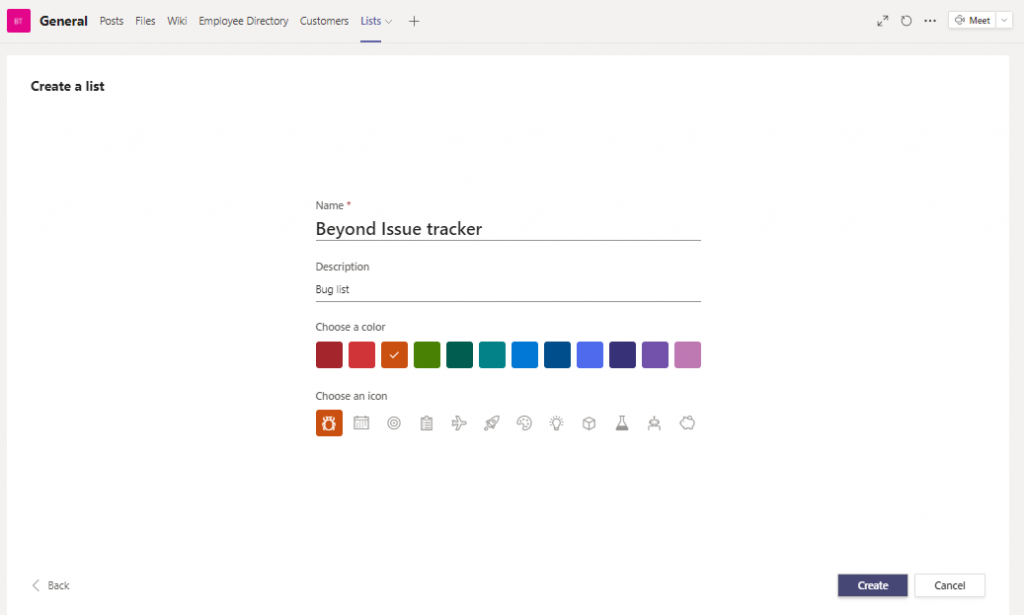
10. I have selected the ‘Issue Tracker’ template here.
11. Give your list a Name, Description, Color, and Icon. Then click ‘Save’.
12. You can see your new list in the tab with the list name. You can now create your data, organize and share it with other users in your organization.
Final Thoughts
This blog covers how to use Microsoft Lists with Microsoft Teams. If you have any questions about Microsoft Lists or any other aspect of implementing the Microsoft Lists app for your organization, contact us today for a free Microsoft Teams consultation.