In the previous blog, we have seen that what is SharePoint Syntax and what are its features and pricing. In this blog, we will see how to install and configure SharePoint Syntex on Microsoft 365 environment.
To install SharePoint Syntex in your Microsoft 365 tenant, you first need the required licenses by following the procedure below:
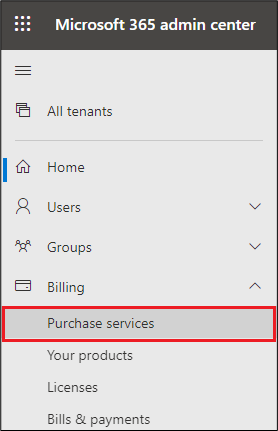
1. As a Global Administrator or Billing Administrator, log in to the Microsoft 365 admin center at https://admin.microsoft.com and go to Billing > Purchase services.
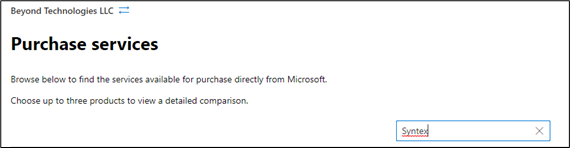
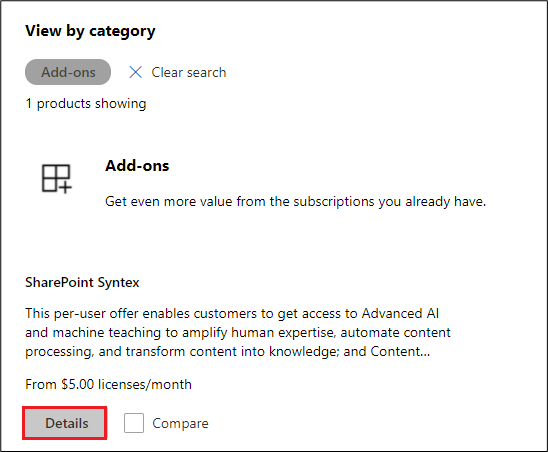
2. Use the search box in the right-hand pane of the Purchase services section, type in “Syntex,” and hit enter.
3. The search results in SharePoint Syntex. Click on the Details button.
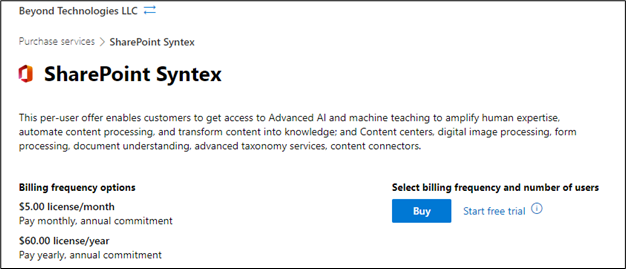
4. The details page opens a purchase page where you can buy the required number of SharePoint Syntex licenses. Alternatively, you can choose the ‘Start a free trial option, which provides 300 SharePoint Syntex licenses for free for 30 days.
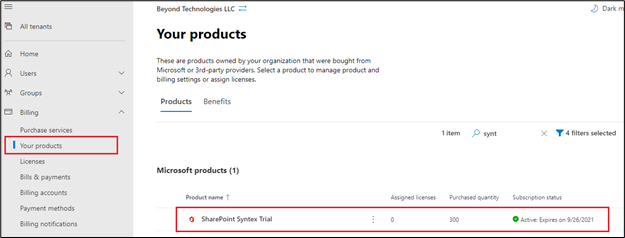
5. We chose the free trial option for this article. Once completed, go to Billing > Your Products in the Microsoft 365 admin portal to see the licenses. The 300 SharePoint Syntex Trial licenses should be visible on the Your Products page.
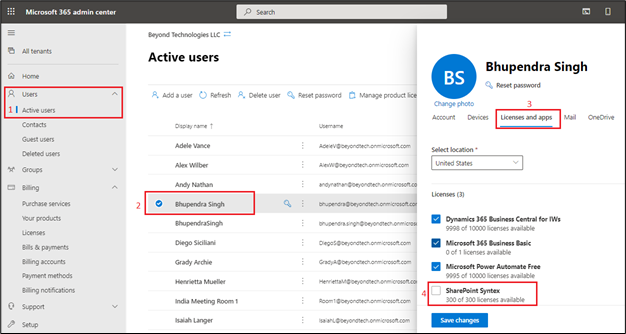
6. Each Microsoft 365 user who has a SharePoint Syntex capability needs a SharePoint Syntex license. This can be assigned from the Microsoft 365 admin center, under Users > Active Users.
7. Now that we obtained the necessary SharePoint Syntax licenses, we can configure the software in our Microsoft 365 environment.
Configure SharePoint Syntax in Microsoft365
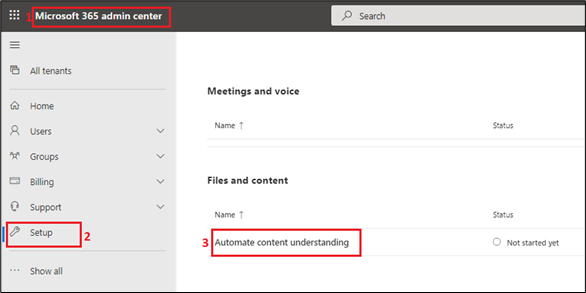
1. As a Global or SharePoint Administrator, navigate to Setup in the Microsoft 365 admin center and click ‘Automate content understanding’ under the ‘Files and Content’
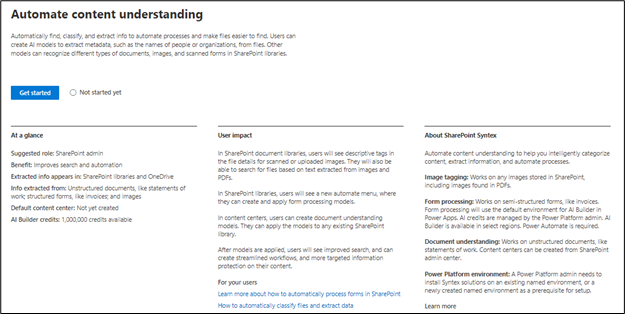
2. On the ‘Automate content understanding’ page, you’ll find “At a glance” and “User impact” information for automating content, as well as further information about SharePoint Syntex, which describes the three primary functions: Image tagging, Form processing, and Document understanding as you scroll down, click on the ‘Get started’ button from the page.
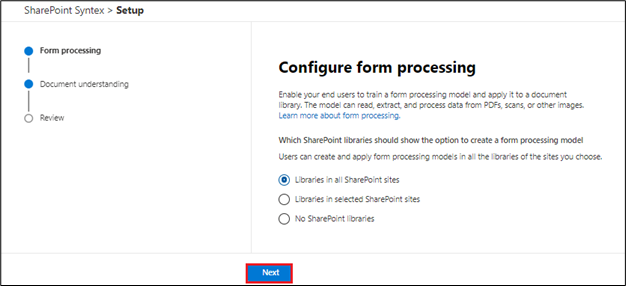
3. Choose your preferred form-processing options. Below, we chose the default option ‘Libraries in all SharePoint sites’. Then click Next.
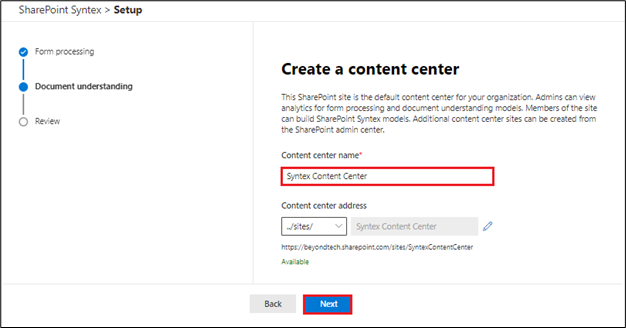
4. The SharePoint Syntex ‘Document Understanding’ feature necessitates the creation of a content center’. In this example, we’ll name our content center as Syntex ‘content center’, which will generate a site name automatically like the following: https://tenantname.sharepoint.com/sites/SyntexContentCenter. Click Next.
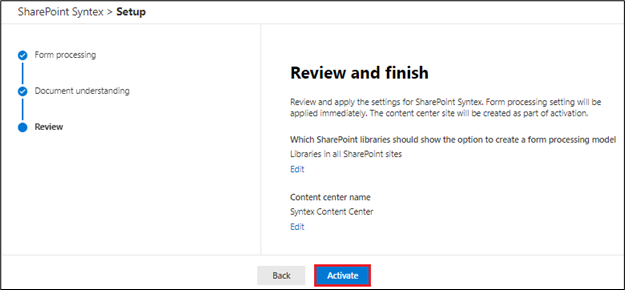
5. You can make last-minute changes from the ‘Review’ tab. When you’re satisfied with your choices, click Activate.
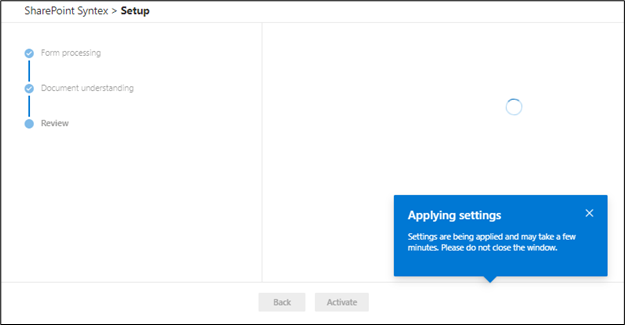
6. It may take a few minutes for the setup to complete. Once it is finished, you should see the following notification.
7. When you finish the setup, click ‘Done’.

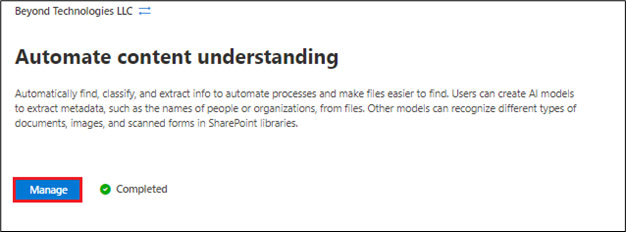
8. You will be redirected to the ‘Automate content understanding’ page, where you’ll select ‘Manage’. Click on manage to edit the settings you completed in the initial setup for both Form processing and Document understanding
9. Scroll down further on the page and you see the link ‘SharePoint Syntax settings’ under ‘Mange this feature’.
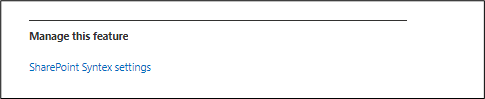
10. Like below, clicking the link ‘SharePoint Syntax settings‘ takes you to your newly formed Syntex Content Center.
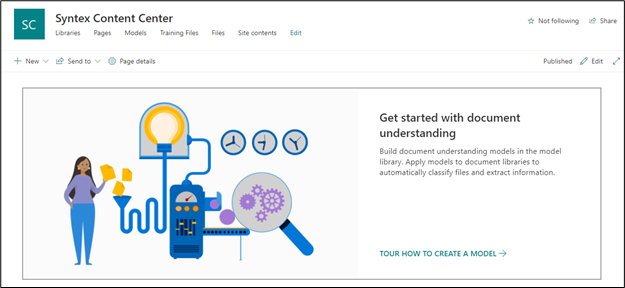
It’s also worth noting that you can create several content centers for SharePoint Syntax in Microsoft 365. SharePoint Syntax is now licensed on( a trial basis) and configured correctly in our Microsoft 365 tenant.
Final Thoughts
This article focused on how to activate a SharePoint Syntax trial account, where to assign it to users, and how to configure it in a Microsoft 365 environment. Learn more about how to use SharePoint Syntax by contacting us on [email protected] to receive a free demo of the product.