
Compatibility:  2016
2016
2016Update SharePoint lists with your comments on the go using Emails
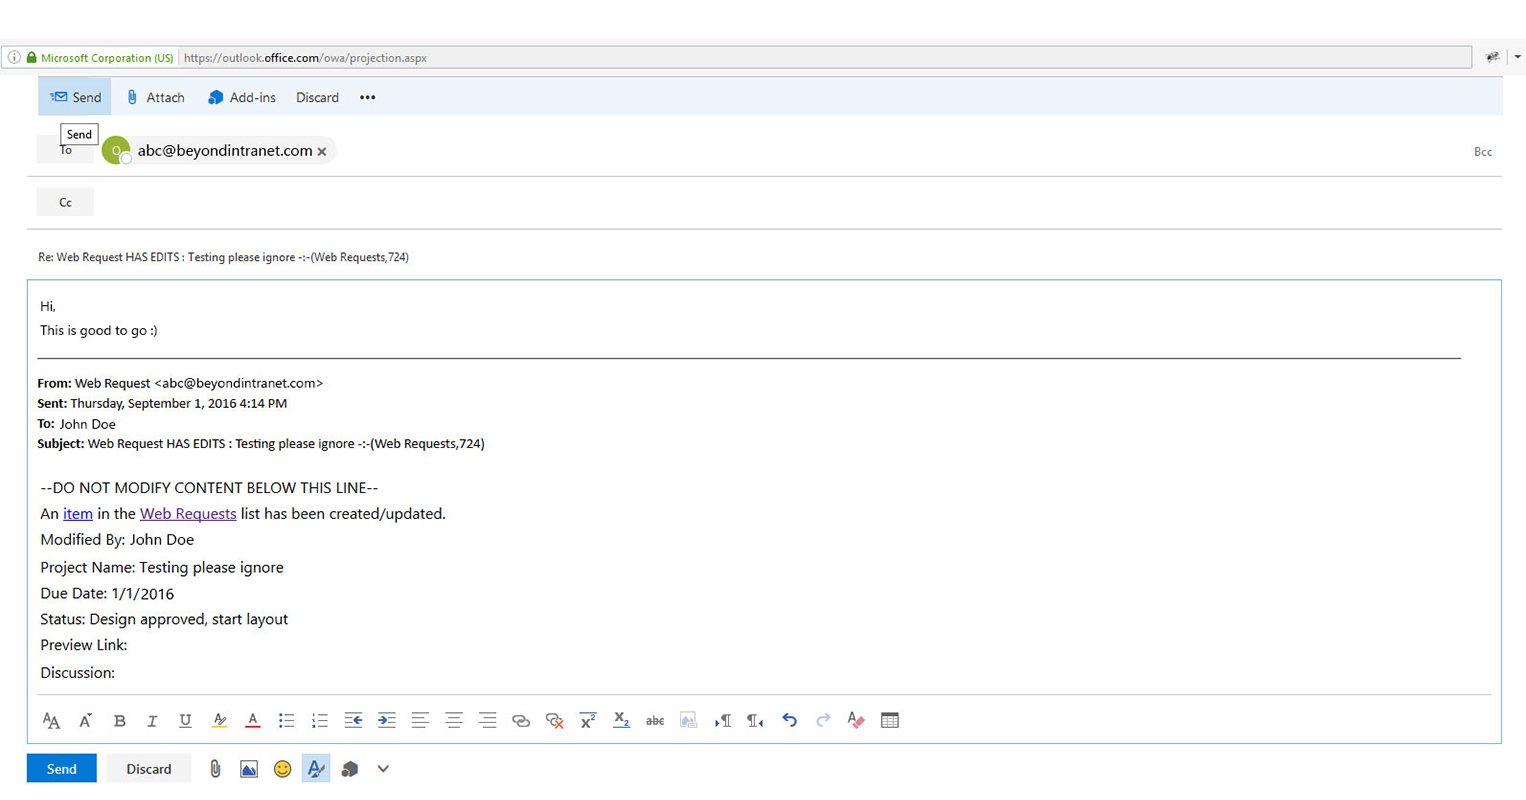
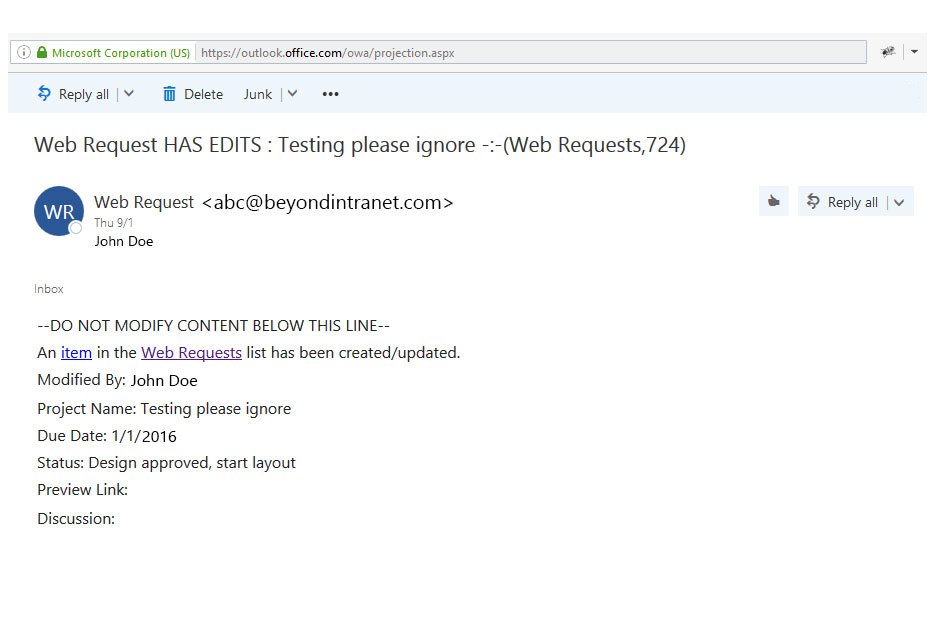
This utility plugin allows SharePoint 2013 users to directly comment on List Items by having them to directly reply to the Emails generated by event receivers attached to those lists.
Steps to Configure the List Email Connector
Part 1 - WSP Deploy on SharePoint
- Download the Solution package from here
- Extract the contents from the zip file
- Upload the farm solution beyondintranet.listemailconnector.wsp and deploy it to a particular web application
- Navigate to a subsite for which you want the lists to be updated via emails
- On this subsite, Activate the feature "BeyondIntranet.ListEmailConnector" from the Site Settings > Manage Site Features page
- On activating the feature, navigate to the Site Contents page and look for a list named "Email Connector Configuration"
-
In this list, Enter the:
- ListName: Provide the list name for which you want the email alerts (mandatory field).
- Field Name Send Email To: Specify the field Name which holds the recipients username to whom the email is to be sent. For instance – “Assigned To” or “Members” (mandatory field)
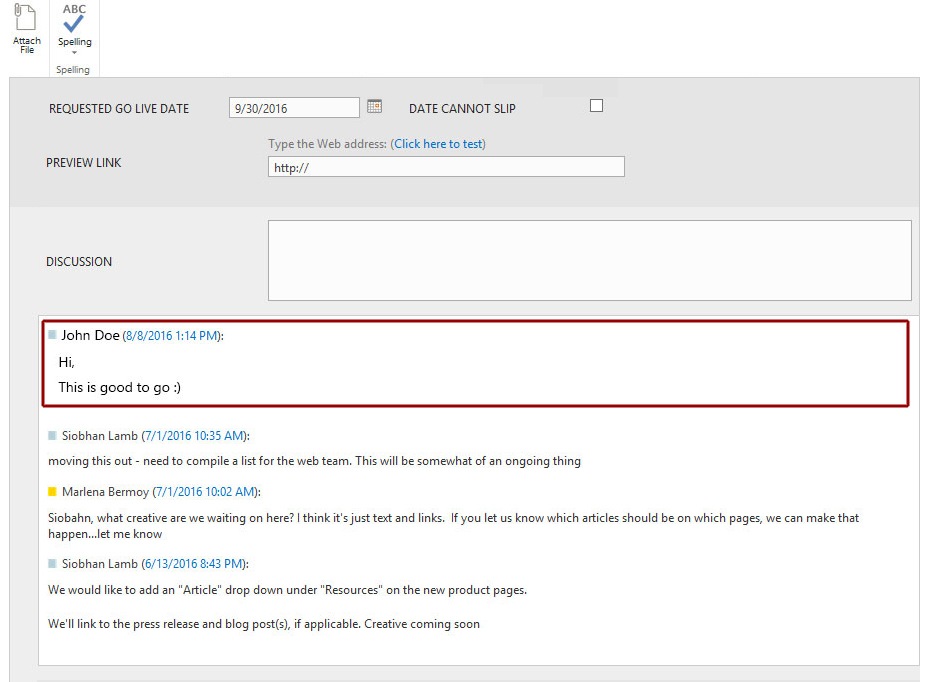
- Field Name Update by Email: The field which is to be updated as comments from the body of the email read from the mailbox. For instance - Comments, Discussion (Note: This field should be multiline field with “Allow Append changes” enabled in the list settings - Mandatory field)
- Fields to include in Email: Any other fields from the list which you want in your email Body. (mandatory Field)
Part 2 - Configure Task in Task Scheduler
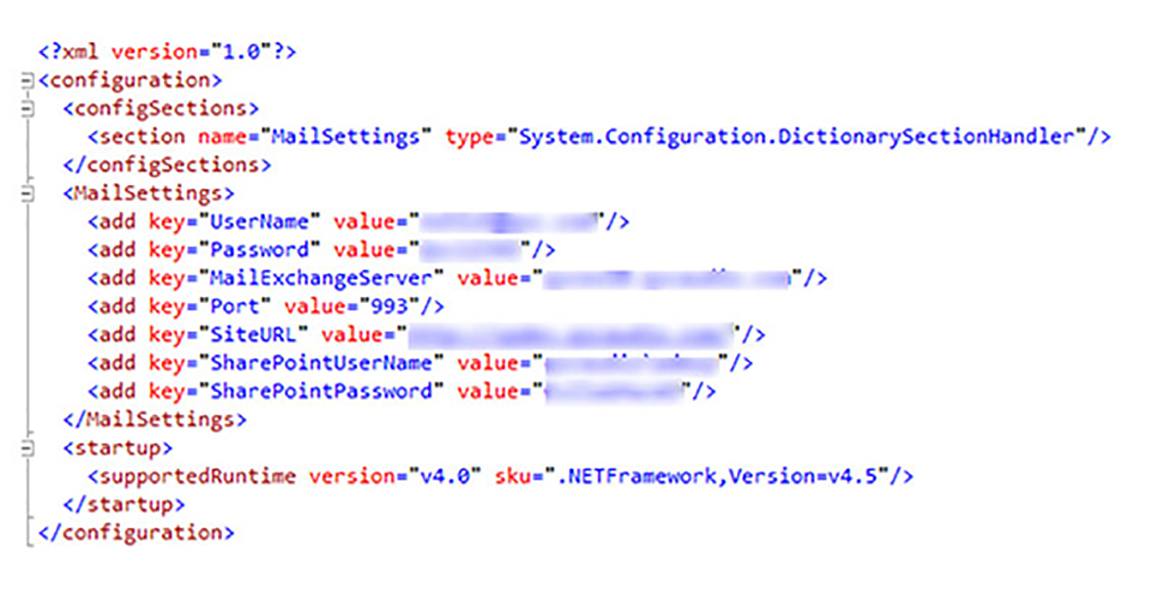
- Open and update the Appconfig.xml file and update the username, password for the email, mail-exchange server, root site url, port number and SharePoint credentials
- Update the Path of the Project in the batch file task scheduler configuration.bat
- Run the updated batch file named task scheduler configuration.bat from the extracted folder on your SharePoint server to create a task in the Task Scheduler on your SharePoint server


